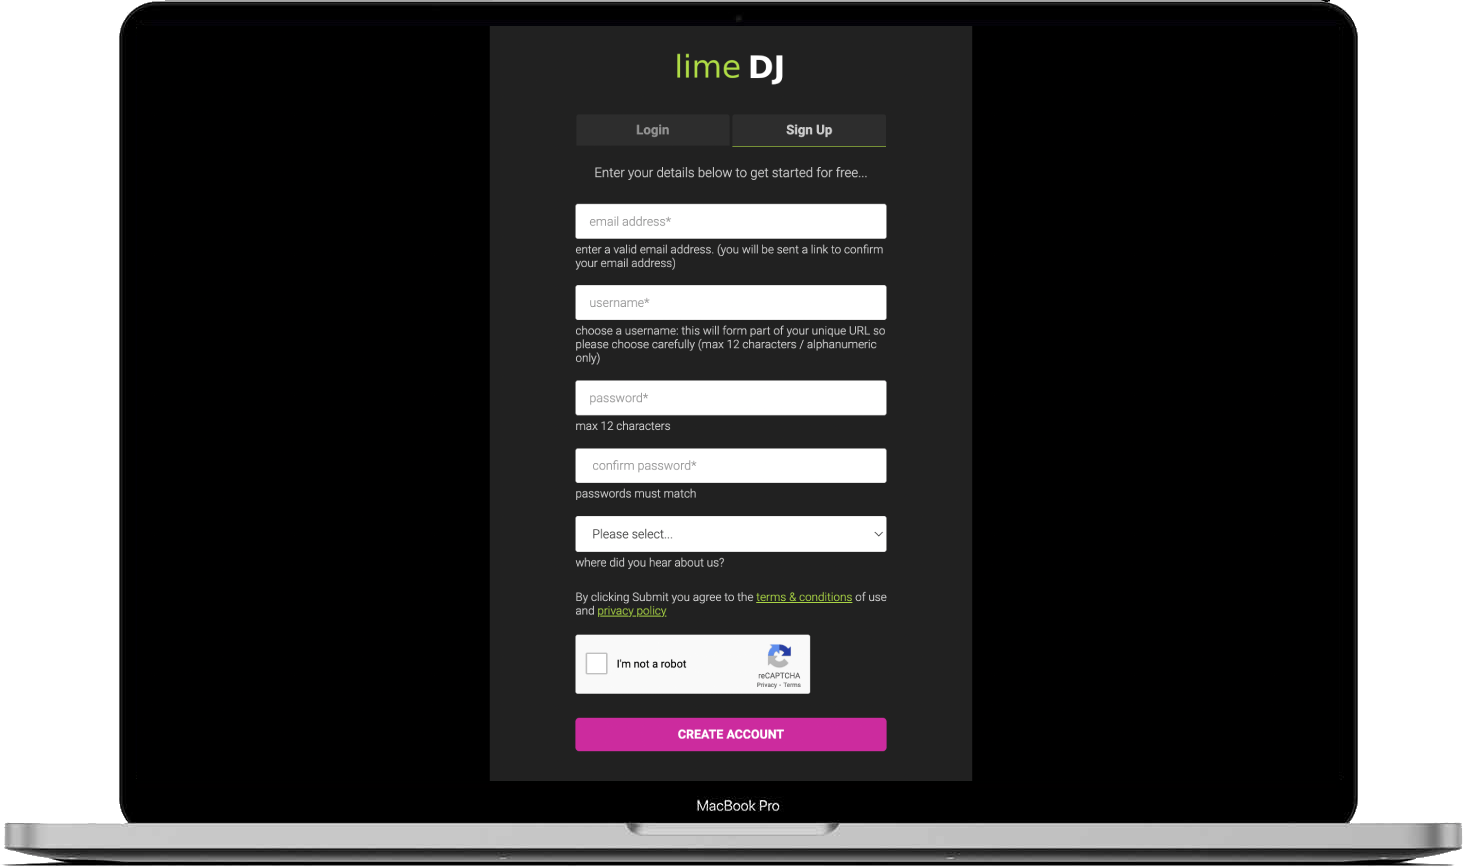
To get started, enter some basic details on the Sign Up page to create your account. Choose your username carefully as this will form part of your unique URL and cannot be changed later.
STEP 2
The first thing you need to do when you join Lime DJ is to set up your business profile. Select ‘Edit Profile‘ if it is not already selected and enter details about your business.
Upload a logo if you have one and enter links to any of your socials such as Facebook, Instagram, Twitter, Venmo and Youtube. Also, enter a brief bio about yourself or your business in the box provided. All this info is displayed on your public page and is a great way to advertise yourself at gigs and generate new business. Click ‘Save‘ when you are done.
STEP 3
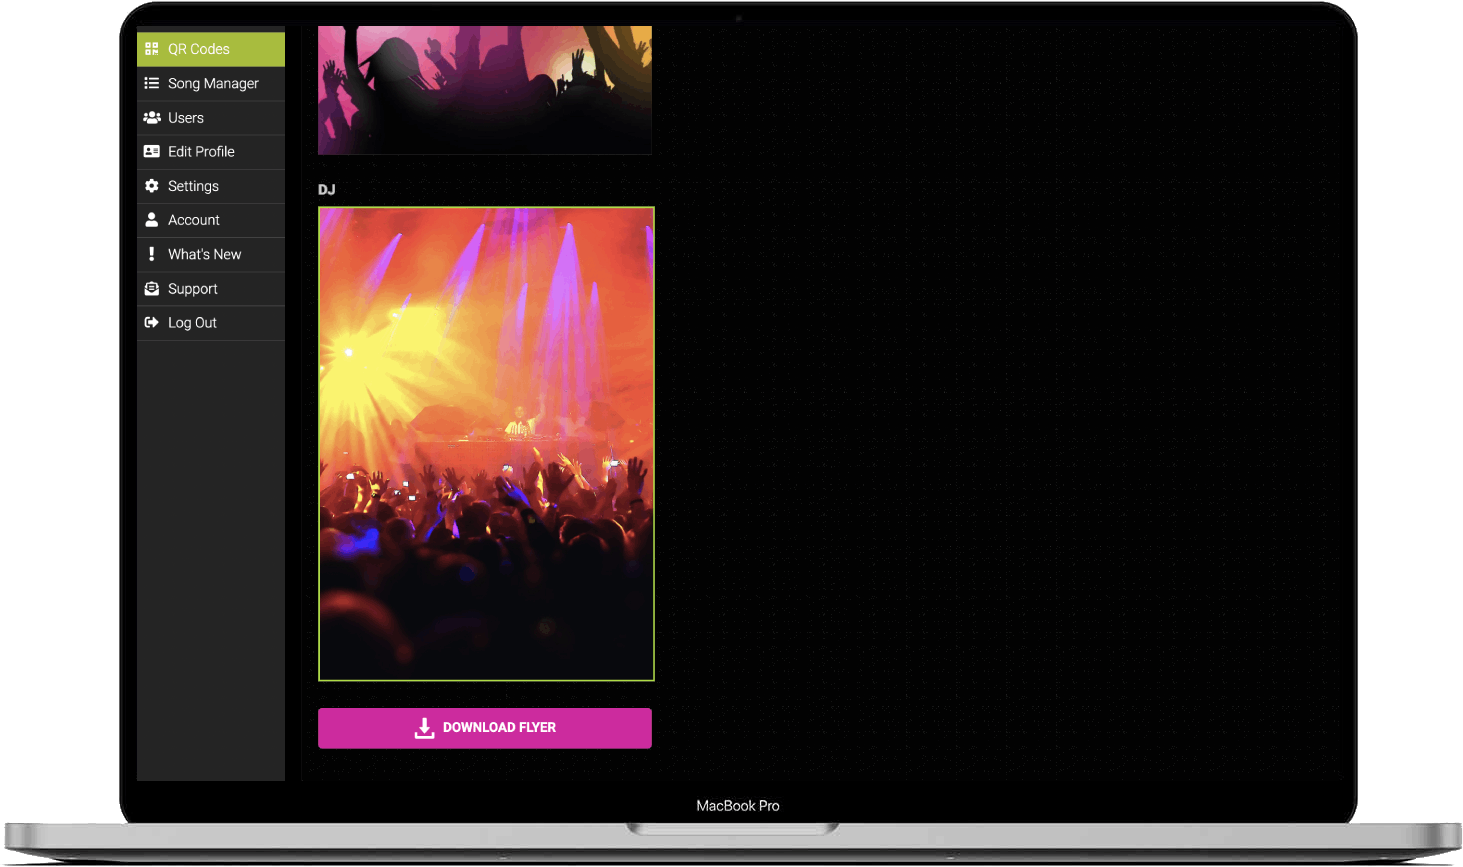
Click on ‘QR Codes‘ in the menu then click on the ‘Download QR Code‘ button to download your QR code. You can then print this out and display it at your venue or use it to create your own flyers, posters or business cards. Whenever anyone scans your QR code they will be taken to your public page at Lime DJ.
STEP 4 (optional)
Choose a background that you like and then click ‘Download Flyer’. Our platform will generate an A4 size flyer for you with your QR code that you can download and get printed.
A flyer containing your QR Code will be downloaded as a PDF file. Many of our users get these laminated and display them at their gigs.
STEP 5
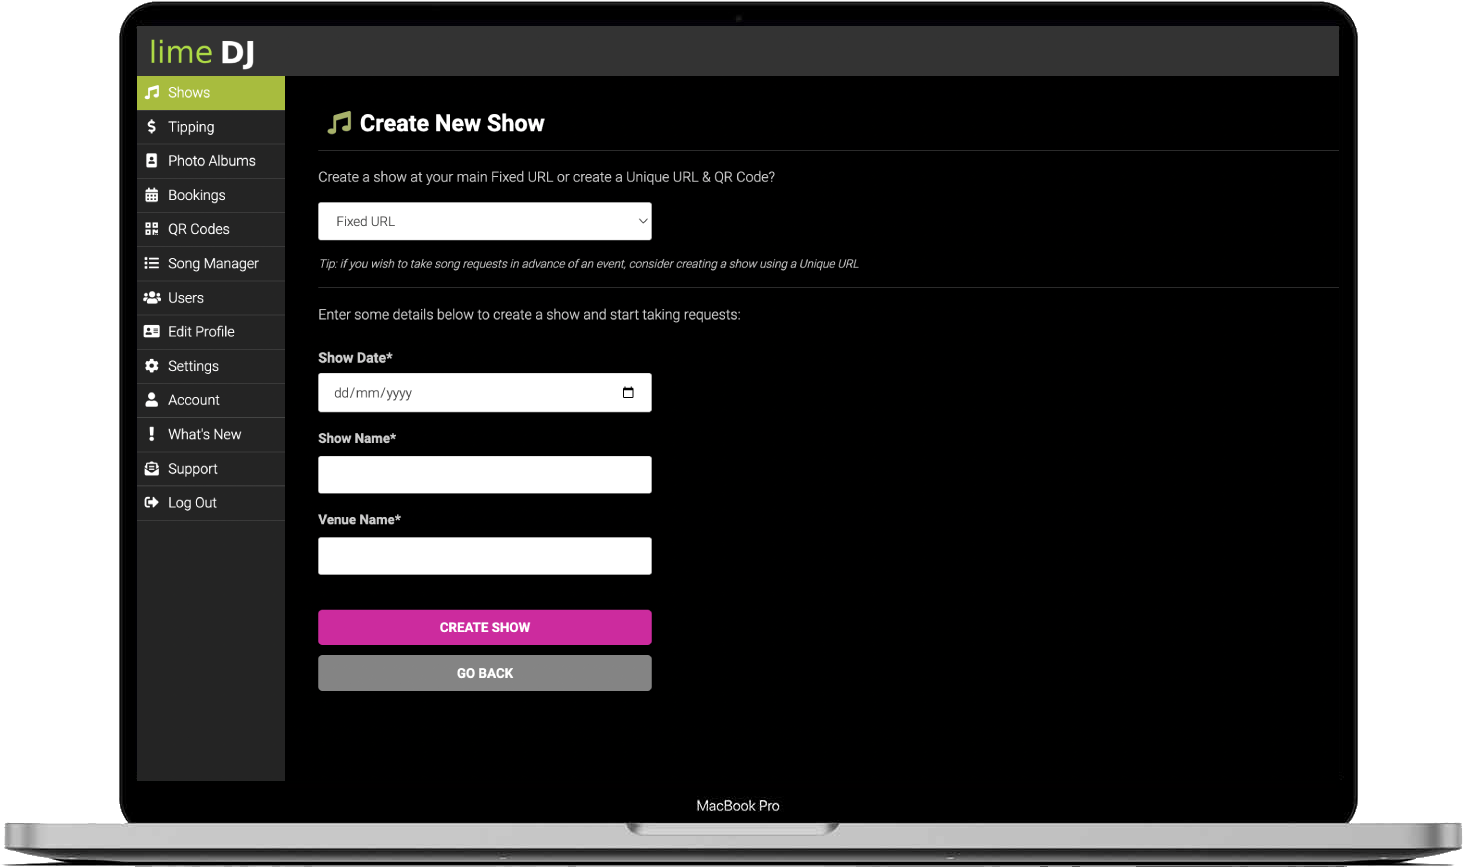
To start taking requests… click on the ‘Shows‘ in the menu then click on ‘Create New Show‘. Choose whether your want the show to run on your fixed URL or a unique URL. You can only have one show running at a time on your fixed URL but you can have multiple shows running on different, unique URL’s. A unique URL and QR code will be generated for you each time you create a show on the unique URL option.
Enter the date, name and venue for the show and click ‘Create Show‘.
*Creating a show on a unique URL is a great way of getting song requests in before the event. Many of our users save the fixed URL for regular weekly gigs and create shows on unique URL’s for extra gigs like weddings and parties. They can then send out the unique URL to their client to start taking requests in advance.
You will be automatically taken to your requests page… this is where your song requests will appear. *You can view this on any internet enabled device whether that be a laptop or mobile phone.
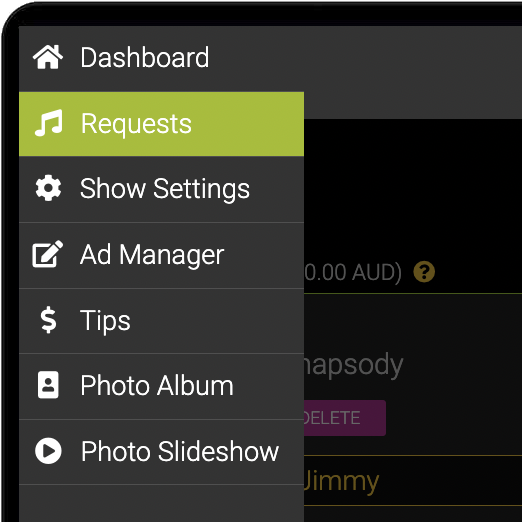
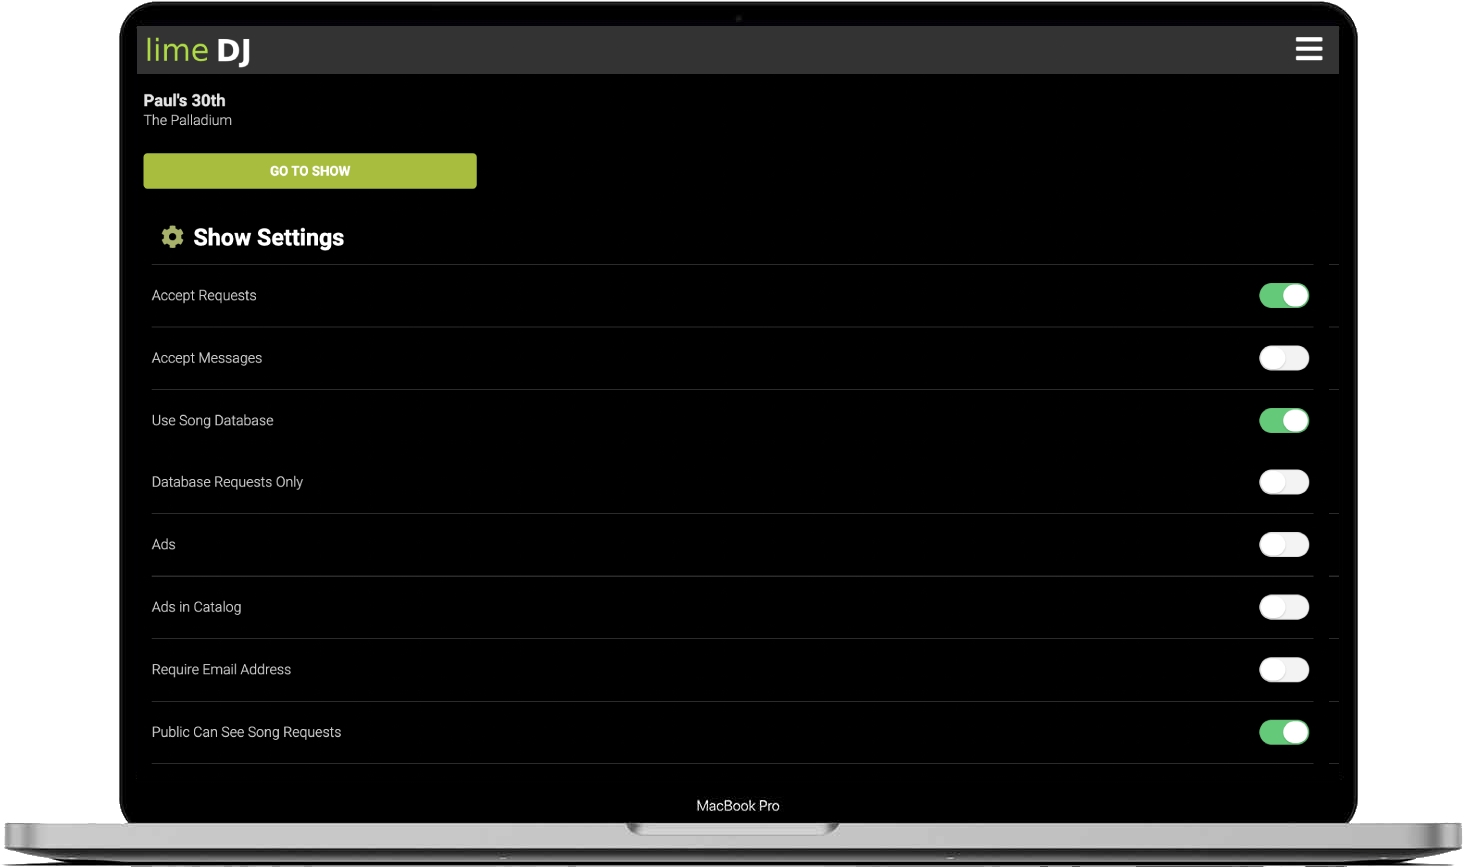
A new set of menus will appear once you are on an active show….
Click on ‘Show Settings‘ to view the range of features you can enable or disable for your show.
On the ‘Show Settings‘ page you can enable or disable different features such as displaying your socials, requesting tips, photo albums, song voting, ads, select your song catalog etc…
To end a show click ‘END SHOW‘ at the bottom of this page.
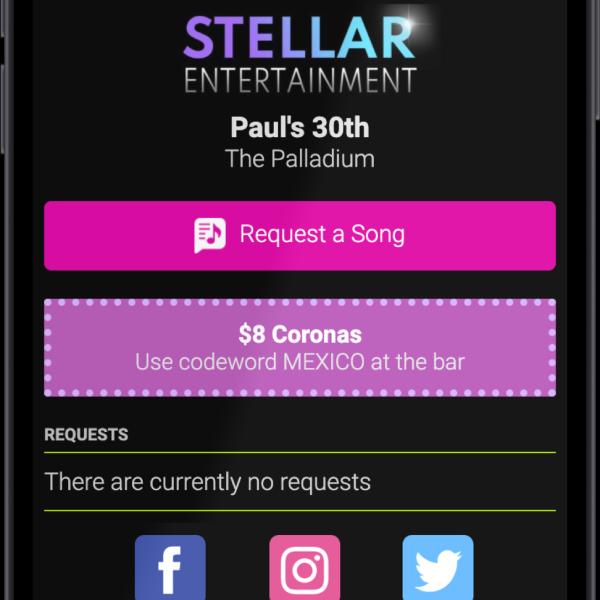
If someone scans your QR code they will be taken to your public song request page. As you can see here, the screen is displaying a bar special ad at the top of the page that we created on the ‘Ads Manager’ page. ‘Ads Manager’ is a great of promoting upcoming events or even specials at the bar for your venue. You can choose where they are displayed and how often they appear.
If you have enabled ‘Display Socials’ on the ‘Show Settings‘ page, these will be displayed on your main page and also the slide-out info panel.
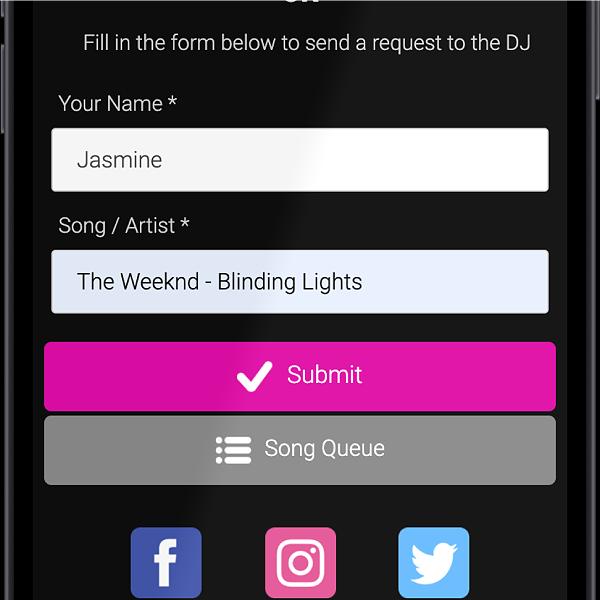
When a guest clicks on ‘Request a Song‘, they can enter their name and the song that they would like to request from you…
Their song request appears on your public song request page. These can be hidden from public view if you wish on the ‘Show Settings‘ page.
On your active show ‘Requests‘ page you will see the song request that was just made. You have 3 options…
If and when you are playing this request you can press the Green ‘Playing‘ button.
If you do not have the requested song you can press the Blue ‘N/A‘ button and the song will be moved to a ‘Songs Not Available’ list.
If you push the Purple ‘Delete‘ button, the song request will be instantly removed from your requests page and the public songs request page.
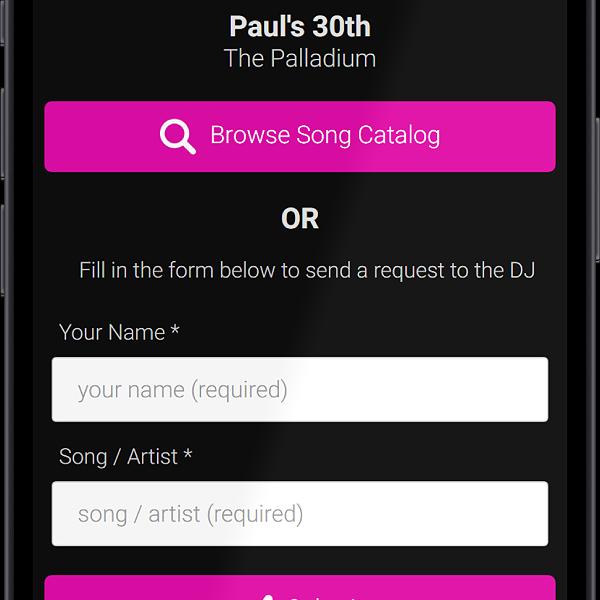
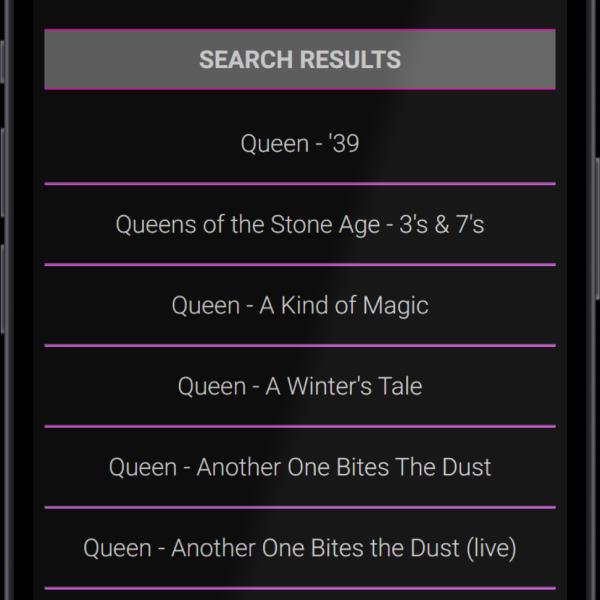
If we are hosting a song database for you or you are using the demo database in the Free Trial, your audience can click ‘Browse Song Catalog‘ …
Your audience will be able to browse through your song catalog or search by Artist or Song Name to locate songs.
On the ‘Show Settings‘ page you can configure it so that your audience may only request from your catalog, this way you can ensure that you will only receive song requests from what you actually have available to play.
If you enable ‘Accept Messages‘ on the ‘Show Settings‘ page, your audience will be able to add a message to their song request.
On your requests page you will see any messages beneath the song request. These messages are not visible on the public requests page.
TIP: If using a laptop, you can re-order the song queue by clicking a request and dragging to a new position
Of course you don’t need a laptop to receive your song requests. You can login to your account on a mobile phone or any internet enabled device.
Remember to click on ‘End Show‘ on your ‘Show Settings‘ page when your gig has ended.