How To - Create a show
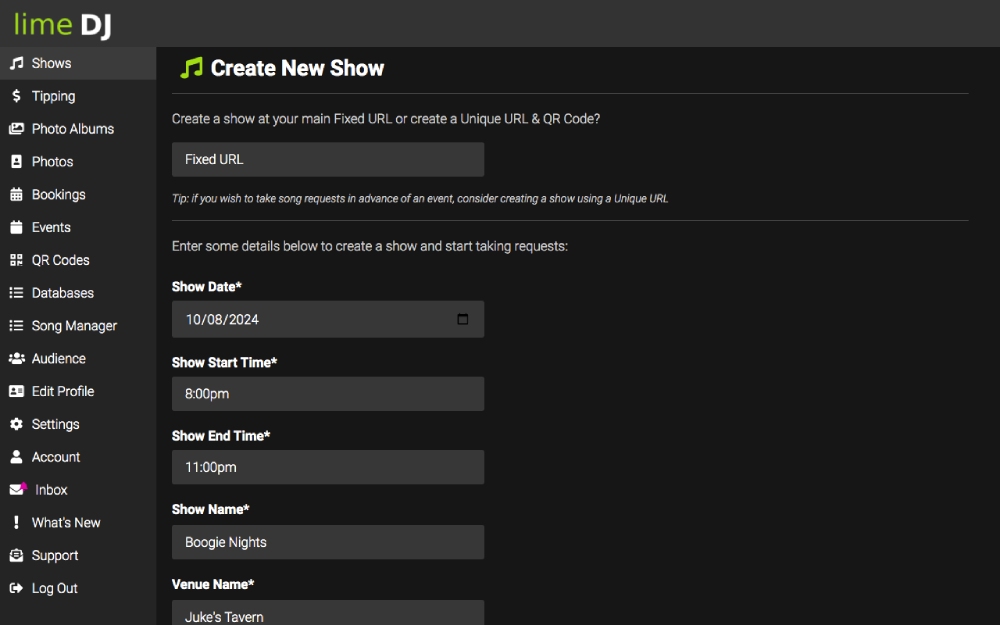
Visit the Shows page in the dashboard and click on ‘Create New Show’.
If you do not have an existing show running on your main URL you will be able to choose whether to run the show on your Main URL or a Unique URL.
If you already have show running on your main URL, any show you create will have a unique URL and QR code generated for it. To create a new show on your main URL and QR code you must end the currently running show first.
Select the date, start time and end time.
Enter a name for the show and the name of the venue.
Select whether your show is a public or a private event.
If the event is public, it will be listed on your profile page.
Optional but recommended:
Upload an image for your show.
This will appear at the top of your public request page and give your public page a great look.
If you do not have an image then your business name, show name and venue name will be displayed instead.
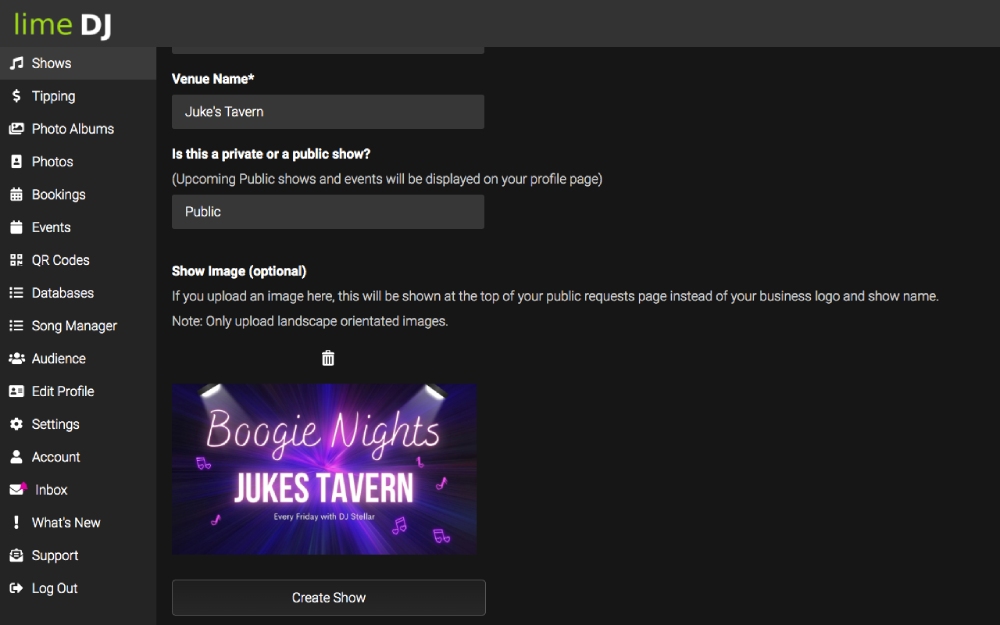 Click 'Create Show' once you're done and you will be presented with the 'Edit Show' page.
Scroll down the page and you will see the URL and QR code for this show which you can download if required.
If you scroll further down the page you will also see the themed flyers, if you click on a flyer preview that you like you will be able to download it ready for printing.
Click 'Create Show' once you're done and you will be presented with the 'Edit Show' page.
Scroll down the page and you will see the URL and QR code for this show which you can download if required.
If you scroll further down the page you will also see the themed flyers, if you click on a flyer preview that you like you will be able to download it ready for printing.
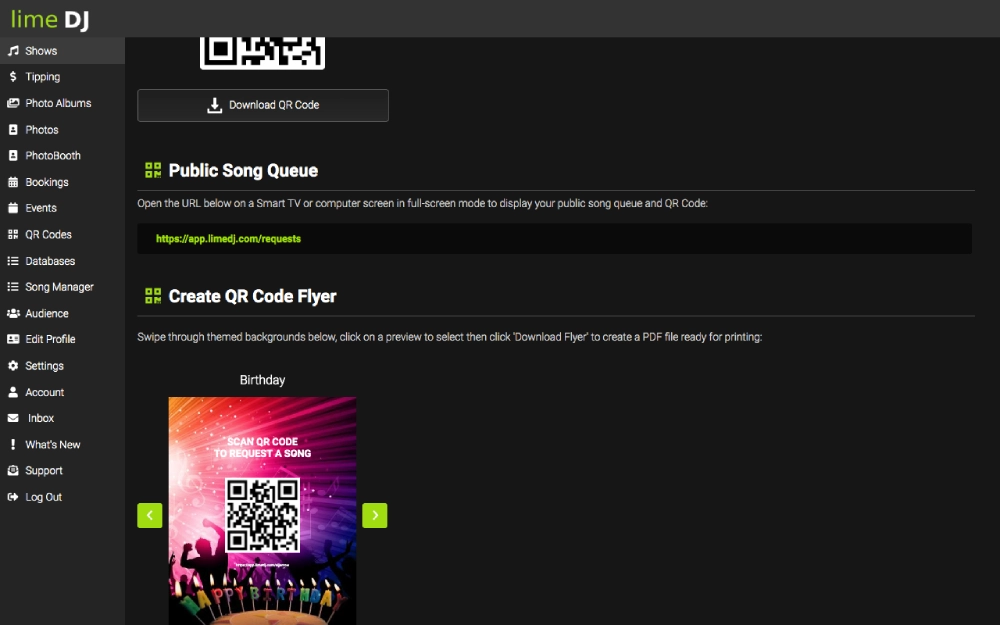
Quick Tip
Copy the link under Public Song Queue and open it in a full screen browser in a Smart TV or computer screen. This is a great way of displaying your song queue in the venue. You can also display your QR on this screen allowing people to scan and access your requests page.
Show Settings
Go back to the top of the screen and click 'Show Settings', this will display all the options specific for the show you just created. Here you can limit requests, select which database to use, enable messaging, photo albums, tipping and many more features.
We will cover Show Settings in another article. Once you have the settings you want click on 'Go To Show' and you will be presented with the requests screen, this is where your song requests will arrive.
From the requests page you will find a different menu by clicking the menu button at the top right of screen. Here you will be able to access your tipping history, photo album and slideshow settings and create ads to appear on your public pages.
Did you find this info useful?
Yes
No
Popular Articles